How To Install Your Ladder Safety Gate
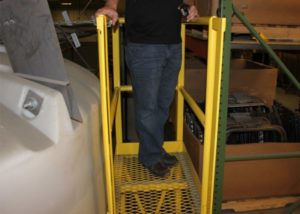
 The PS Safety Access® Ladder Safety Gate protects ladder openings, stairwells, elevated platforms, mezzanine ledges or anywhere there is an opening in your safety railing system.
To ensure your Ladder Safety Gate is installed correctly, follow these simple installation steps.
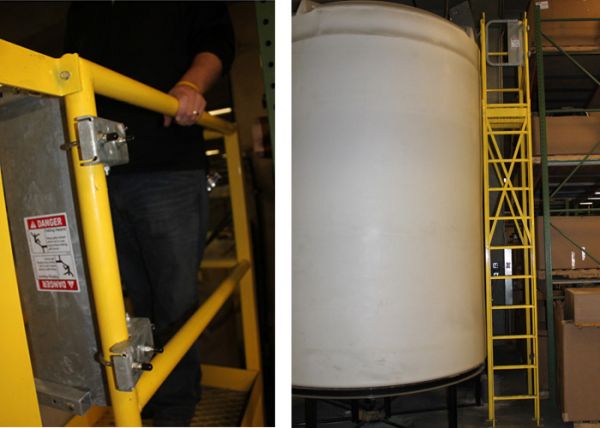
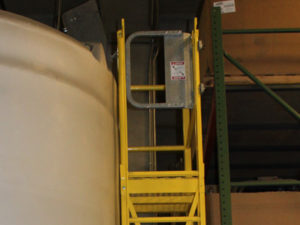
Example : A Ladder Safety Gate must be installed on this elevated platform used for water storage tank access. We will walk through installing an LSG-18 Hot Dip Galvanized gate being mounted to an existing standard railing system (less than 2” round outside diameter). View all Ladder Safety Gate sizes and finishes HERE.
 Needed Tools:
- Tape measure
- ½” wrench or drill with ½” socket
- PS Safety Access Ladder Safety Gate (all hardware included)
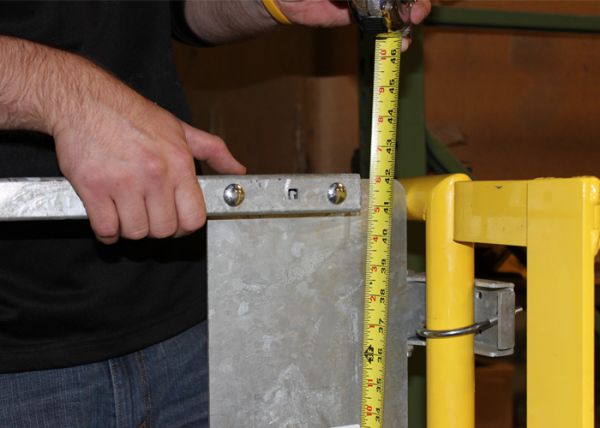
Step 1: Measure your opening (in inches)
Measure your opening (inside of railing to inside of railing) using a tape measure.
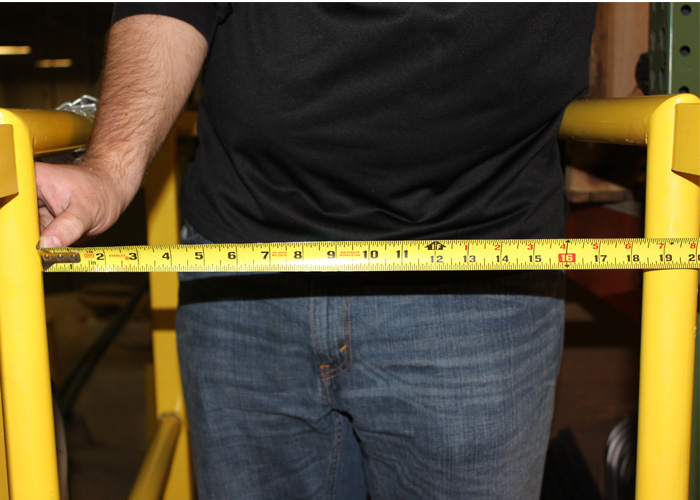
This opening measures 18-1/2” and requires an LSG-18 Ladder Safety Gate (which fits openings from 16-3/4” to 20-1/2″). All PS Safety Access Ladder Safety Gates are adjustable (up to 3-3/4”). View all sizes HERE.
Step 2: Loosely attach Ladder Safety Gate hinges to standard piping using the included hardware.
Included hardware for all Ladder Safety Gates (Models LSG-15 to LSG-36):
- (2) U-bolts
- (4) washers
- (4) nuts
- (4) black end caps
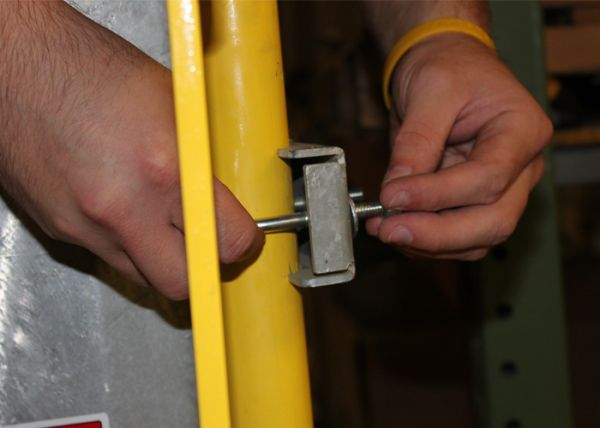
Place U-bolt through ladder safety gate hinge and attach washer and nut. Hand tighten.
Repeat for second hinge.
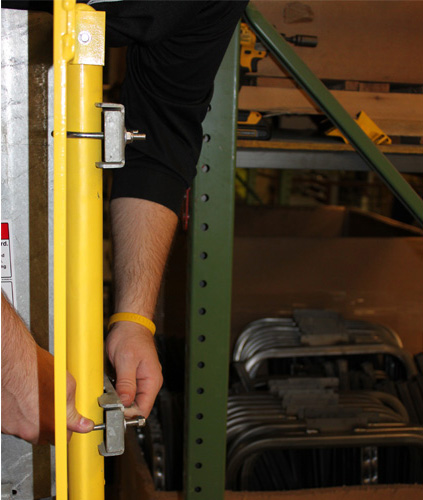
Step 3: Ensure the top of your Ladder Safety Gate is even and level with the top of your existing railing system.
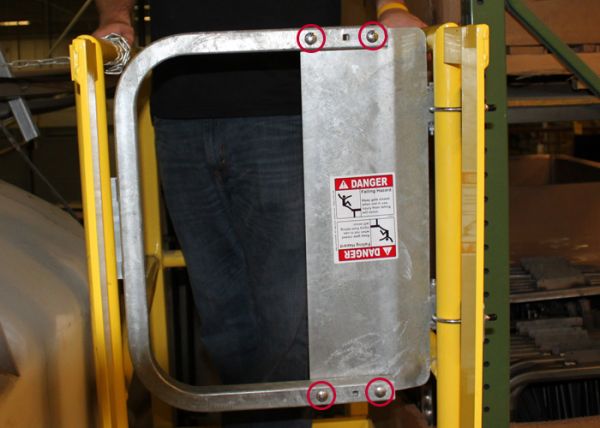
Step 4: Using a drill or wrench, tighten mounting hardware and ensure Gate is securely attached to railing.

Step 5: Place black end caps on Ubolt ends.

Step 6: Adjust gate size horizontally to fit opening (if needed).
Loosen gate carriage bolts and adjust gate to fit your opening (horizontally). When complete, tighten carriage bolts securely.
Installation Complete!